Stencil a line pattern through an imported sketch with Overlay in Studio. Generator plus layer image walkthrough, feature 10 of 69. Watch and try in Studio.
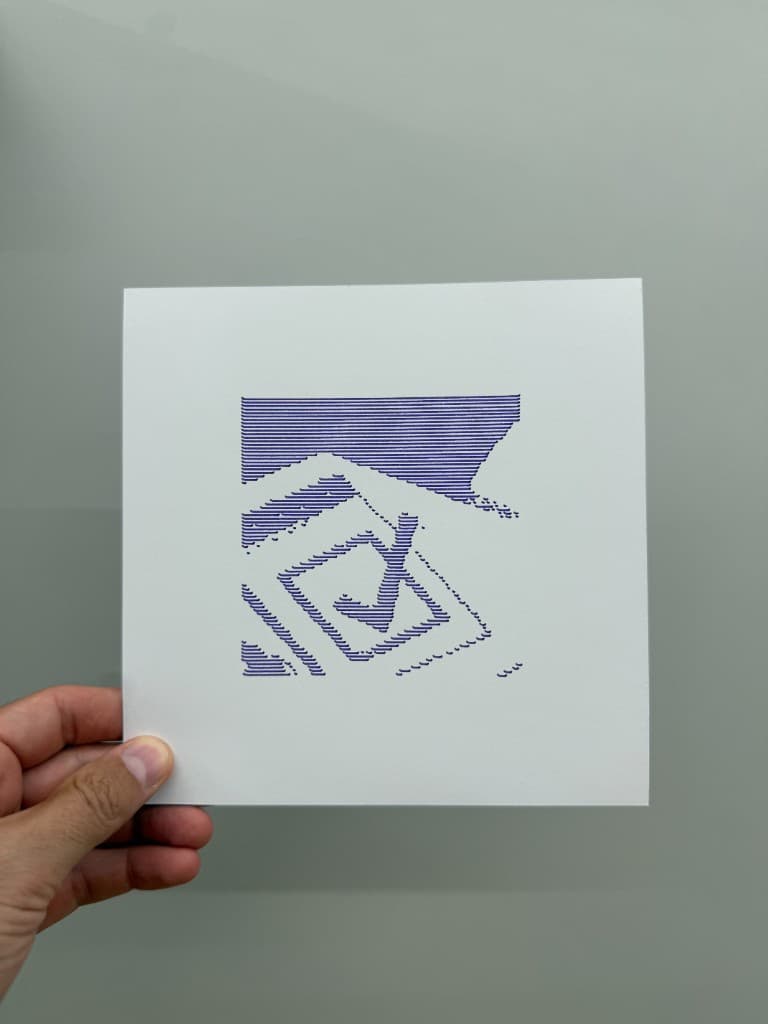
Turn a line pattern into a pixel-art stencil with Overlay, all in your browser. This is Feature 10 of 69 in the 3DPlotter V3 series: a walkthrough of the Overlay modifier. Build a Generator hatch, import a pixelated sketch on the layer, let the image decide which strokes survive, export G-code, and plot a checkmark on cardstock. No Inkscape, no manual clipping masks.
How to use Overlay
Select the layer whose linework you want to transform
Open Studio → Add Modifier → Lines → Overlay
A modifier node is appended to the layer stack (non-destructive)
Reorder modifiers in the stack; later modifiers see earlier output
Tune parameters in the modifier card in the right sidebar; preview updates on the canvas
Menu path: Add Modifier → Lines → Overlay
The story behind this plot
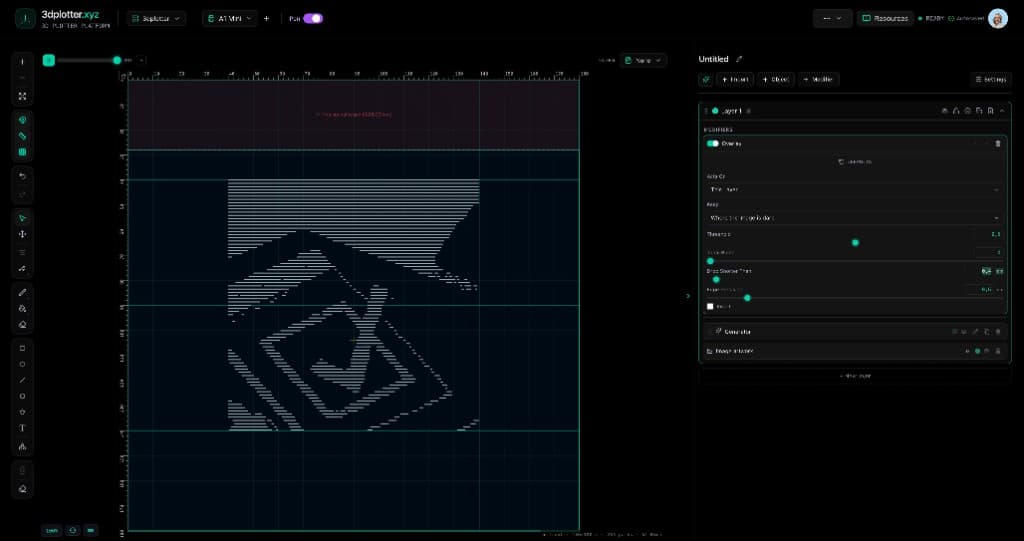
This piece started as a Generator field of horizontal lines, then a pixelated sketch imported on the same layer. Overlay does not draw the image. It samples brightness under each point along your linework and keeps only the segments that belong there, so the hatch becomes a stencil of the sketch.
In the video I set Keep to Where the image is dark, tune Threshold and Drop Shorter Than, and watch a dense line pattern collapse into a checkmark. Export the surviving paths and plot on cardstock. The bitmap never hits the pen, only the trimmed vectors do.
What you'll learn in the video
Open Studio and find Overlay under Add Modifier → Lines
Add a Generator line pattern on the layer
Import a pixelated sketch as the layer image overlay (stencil source)
Apply Overlay so the image decides which stroke segments survive
Set Keep to dark, light, or Only at edges
Tune Threshold, Tonal Blend, Edge Precision, and Drop Shorter Than
Export G-code and plot the stenciled pattern on your pen holder
Overlay controls
Keep:Where the image is dark, Where the image is light, or Only at edges (brightness contrast)
Threshold: cutoff from 0 to 1 for hard keep or drop decisions
Tonal Blend: soft band with seeded dither so grey tones become stroke density, not a flat silhouette
Edge Precision: sample step along paths when trimming (mm)
Drop Shorter Than: remove fragments shorter than this length (mm)
Invert: flip which segments are kept
Acts On: This Layer or This Layer and Below
Non-destructive stack: remove or reorder the modifier to see the full pattern again
Why Overlay beats manual masking
Most workflows mean exporting a hatch to Illustrator, placing a clipping mask, breaking apart paths, and cleaning up hundreds of segments. Overlay runs live on the canvas: the layer image is information about the drawing, not part of the plot. Dial Threshold, preview instantly, export G-code in one place.
Key controls
Acts On: own, options: This Layer, This Layer and Below
Keep: keepDark, options: Where the image is dark, Where the image is light, Only at edges
Threshold: 0.5 (0-1 step 0.01)
Tonal Blend: 0 (0-1 step 0.02)
Drop Shorter Than: 0.4mm (0-20mm step 0.1)
Tune acts on, keep, threshold, tonal blend, and drop shorter than in the right sidebar. Open Studio to see every control.
Modifier stack: May add, drop, or reorder paths; selection maps reset for this layer
Acts On: Choose *This Layer* or *This Layer and Below* in the right sidebar.
What I plot with Overlay
Line fields and hatch patterns cut into logos, portraits, and pixel-art stencils
Generator output masked by a layer image without manual clipping
Poster-style pen art on Bambu Lab A1 Mini, Prusa, Creality, and other pen-holder setups
Layered linework exported as G-code with pen-up travel
Combined with Ruling, Current, Filter, and other modifiers in the same stack
Frequently asked questions
How do I use Overlay in 3DPlotter?
Add a line pattern with Generator (or Ruling, Current, or imports), import a sketch as the layer image, then Add Modifier → Lines → Overlay. Tune Keep and Threshold in the right sidebar.
Does the overlay image get plotted?
No. The image is a stencil. Overlay samples brightness under your linework and trims paths. Only the surviving vector segments export to G-code.
What is the difference between Underlay and Overlay?
Underlay sits behind your drawing for manual tracing and never plots. Overlay uses a layer image to automatically cut existing linework into a stencil shape.
What does Tonal Blend do in Overlay?
At zero, Overlay uses a hard threshold. Above zero, it dithers keep or drop decisions across a soft band so mid-tones read as stroke density instead of a flat cut-out.
Can Overlay work on photos?
Yes. Use Tonal Blend and Edge Precision for softer results, or Only at edges to keep linework where brightness changes.
Is Overlay non-destructive?
Yes. Overlay is a modifier on the layer stack. Remove or disable it to restore the full line pattern.
Try Overlay
Open 3DPlotter Studio, follow the steps above, and export a test plot. Lifetime V3 access is €29.90. Creator Bundle (€39.90) adds Map to Pen Plot, String Art, Wax Seal, and 3D Model to SVG.