Pen Plotting Blog: Guides & Tutorials for Bambu Lab 3D Printers
Learn how to transform your Bambu Lab 3D printer into a pen plotter. Our guides cover G-code generation, STL files, calibration, and creative projects.
Printer Setup Guides
Step-by-step tutorials for setting up pen plotting on your Bambu Lab printer
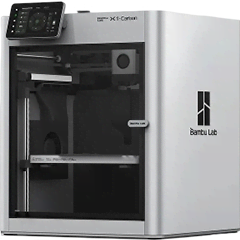
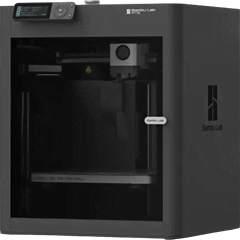
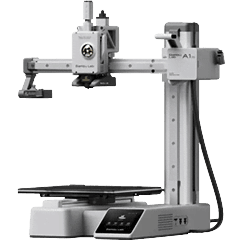
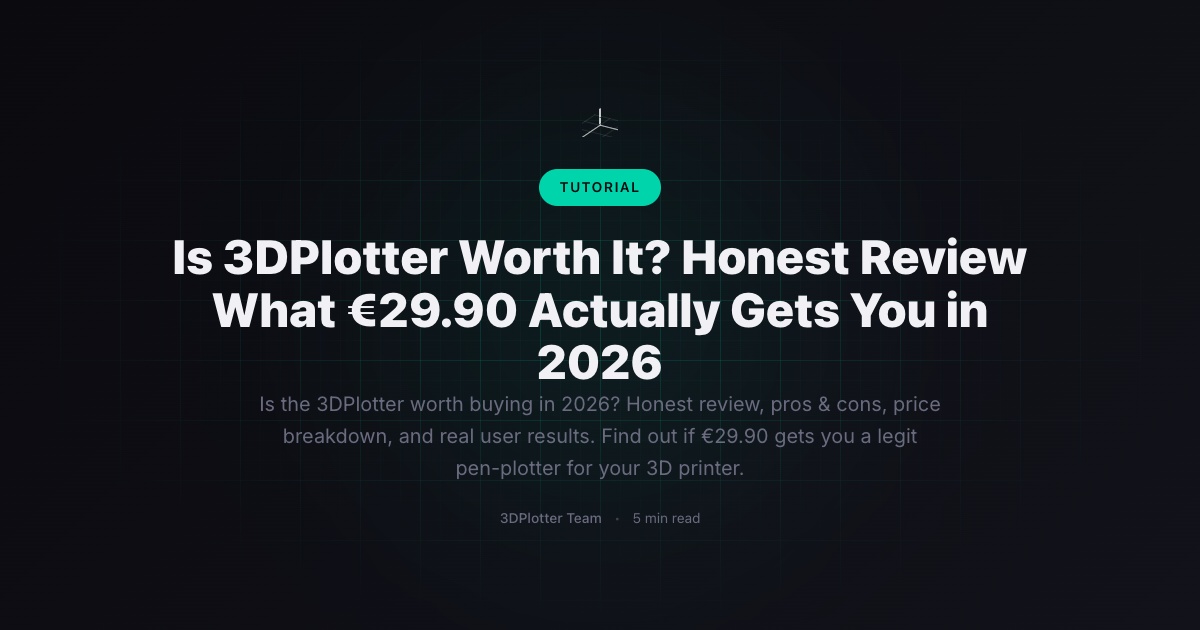
Best Pen Plotter for Small Spaces: Why the Bambu Lab A1 Mini is Perfect for Apartments and Compact Workspaces
Discover why the Bambu Lab A1 Mini is the top compact pen plotter for apartments and tiny desks—quiet, lightweight, and perfect for greeting cards, stickers, and small art prints.
February 12, 2026
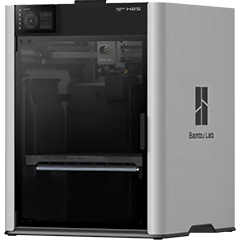
3DPlotter vs AxiDraw: Why a €29.90 Web App Beats a $475 Dedicated Plotter
Turn any 3D printer into a pen plotter for just €29.90 with 3DPlotter—saving up to 90% versus buying an AxiDraw hardware plotter that starts at $475.
February 12, 2026Pen Plotting FAQ
What is G-code and do I need to learn it?
G-code is the programming language that tells machines how to move. It controls your printer's position, speed, and pen up/down actions. With 3DPlotter, you don't need to learn G-code—our software generates it automatically from your designs.
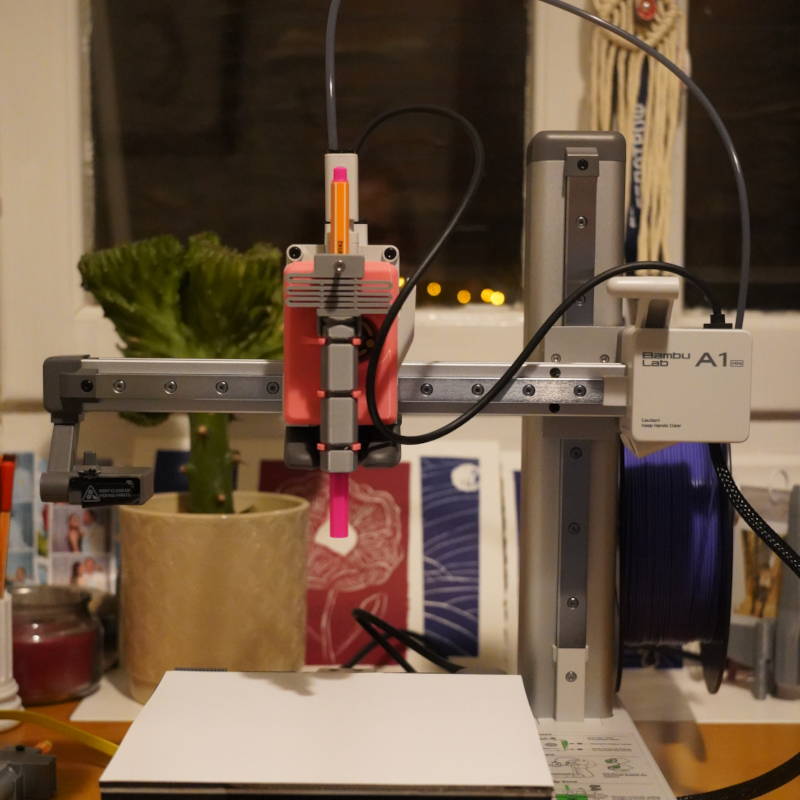
Read related articleHow do I convert my 3D printer to a pen plotter?
It's a simple 3-step process: 1) Print the pen holder attachment using our STL files, 2) Mount it to your printer's print head and insert a pen, 3) Use 3DPlotter to create designs and generate G-code. The whole setup takes about 30 minutes.
Read related articleWhich pens work best with Bambu Lab printers?
We've tested 15+ pens and recommend: Sakura Pigma Micron for fine detail, Staedtler Triplus for everyday use, and Sharpie Fine Point for bold lines. The key is consistent ink flow and a tip that won't catch on paper.
Read related articleWhat are Hershey fonts and why do they matter?
Hershey fonts are single-stroke vector fonts designed specifically for pen plotters. Unlike regular fonts that have filled shapes, Hershey fonts draw each letter with one continuous line—making them perfect for plotting. 3DPlotter includes 50+ Hershey fonts.
Read related articleGet Plotting Tips in Your Inbox
Join makers receiving our weekly digest of tutorials, project ideas, and pen plotting tips.
No spam, unsubscribe anytime.
Ready to Start Pen Plotting?
Transform your Bambu Lab 3D printer into a professional pen plotter today.