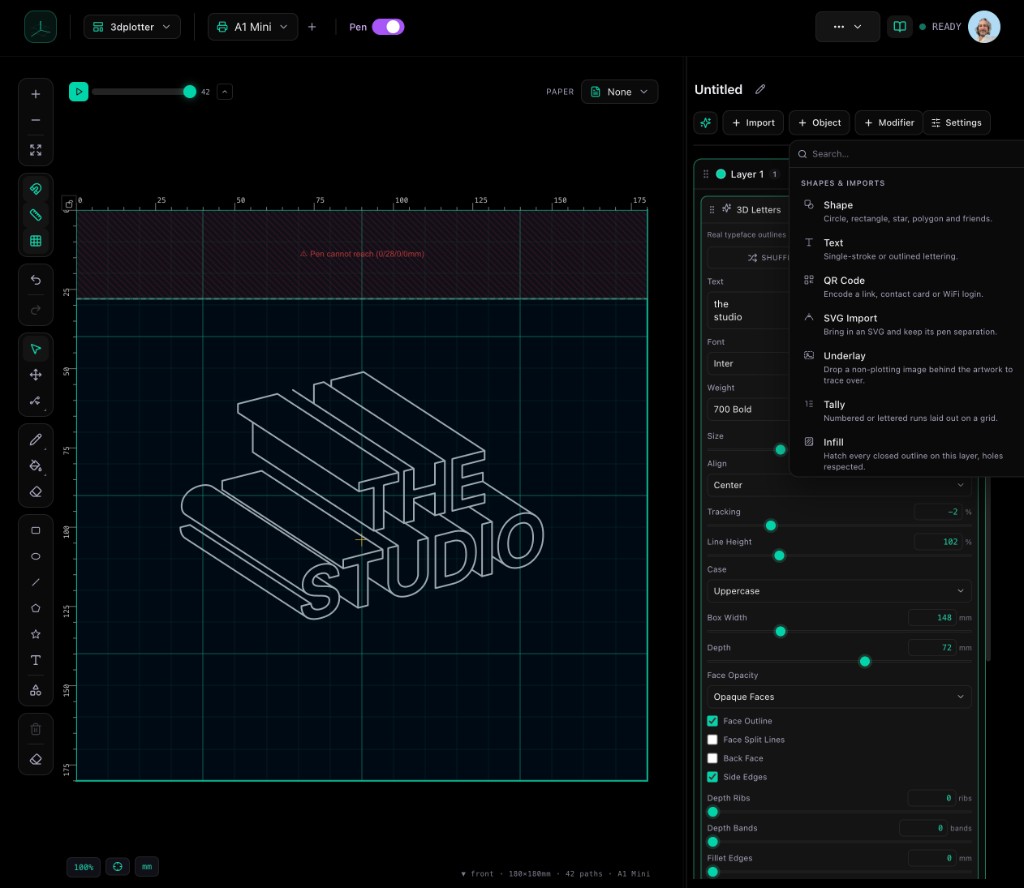
Ever wonder what it looks like when a 3D printer becomes a pen plotter? Today, we're pulling back the curtain on the V3 studio layout.
We've set up a dedicated plotting station that turns any Bambu Lab or Creality printer into a precision drawing machine. The layout is simple: a tool rail to keep pens organized, a canvas area for your paper, and an object stack for quick access to printed pieces.
Here's why this matters for your own setup: a clean studio layout means less time fumbling and more time creating. With 3DPlotter, you can generate G-code from text, images, or drawings, and the V3 software makes it easy to manage your workflow.
For example, the tool rail keeps your pens within reach, so switching from a fine liner to a brush pen takes seconds. The canvas area is sized to match your printer's bed, whether you're using an A1 Mini or a larger X1C. And the object stack is perfect for storing finished plots or test prints.
This isn't just about looks, it's about efficiency. When your workspace is organized, your creative flow improves. You'll spend less time searching for tools and more time experimenting with new designs.
We've also integrated the V3 studio layout with our PlotFlow Engine, so you can preview your plot before it runs. That means fewer wasted sheets of paper and more successful outputs.
Ready to transform your 3D printer into a plotter? Check out our step-by-step guides for the Bambu Lab A1 or A1 Mini to get started. And if you're curious about the full V3 experience, visit our gallery to see what other makers are creating.
Join the community and share your own studio setup, we'd love to see how you're using 3DPlotter to bring your ideas to life.
